Beginner Abstract Art Painting - Creating a Layered Ethereal Textured Artwork - Step-by-Step Tutorial


Hello there. W elcome back to my art table today. I'm going to show you how to do a kind of a unique texture painting that uses a couple of different types of texture.
What I've got here is just a little canvas board.

I primed it with some titanium white as I always do. And then I've got just a basic piece of tissue paper, white tissue paper. I've torn off a piece of it kind of in this shape, because I want it to be just on here. You can use, of course, any shape you want. You can use more or less, whatever, whatever you're into, and then we're going to adhere it and you can use a gel. You can use a mod podge, these work really great for it hearing. So I think what I'm going to do is use amtte Mod Podge and put that on my

canvas. Painting a little bit that uses some of mixed media, some sort of fine art principles often. They're so interchangeable.
It's kind of fun to use different textures and see, just see what happens, you know, so I'm going to put a nice kind of layer of that on there. And then I'm going to lay down my tissue paper to kind of hit the bottom here. And I don't really want it to be like a perfect flat. I want a little bit of crinkle, hence texture in there. So just kind of scrunch it up with your fingers.
You want to bring it down just a bit And I suggest always, you know, tearing, I didn't quite get it to the anterior, but if you tear your tissue paper, make sure it kind of goes off the edge. that way you can just trim it and you always know that you've got enough.

So then what I'm going to do with this is I'm going to go back over it a little bit on my Mod Podge on my brush and get up the bubbles. You know, there's definitely gonna be some bubbles when you do this, get those out and see if you can get fairly flat. You can always add another layer of this. I'm gonna actually go ahead and add some, modeling paste with this. So with a pallet knife and some of my modeling, I need to get some new pallet knives. Men are getting kind of gunked up. I'm going to go ahead and go
Over this around the scenes, kind of around the bottom, because I do want it to look like it's melded in with the, the canvas itself and not have that. Obviously him, you may want that obvious seem for whatever reason, the seam of the paper, where I tore it is what I'm talking about. So I'm just going to go ahead and add a little additional texture this way. So I get a kind of a couple different texture patterns with this. And I do like to use paper. Sometimes it gives you a kind of a, you know, that absorbent ground. You can go over this with a little absorbent ground
medium, and that will make it even more of a papery finish and give you more of like a watercolory effect on your final project when you've applied the paint. There are various ways to do that, but I definitely want to make sure I have, a nice coat of each of these.

And it does give you a little different effect, and that's the reason I'm doing this. You can do this painting and I have done this painting on a large scale with just the paper. And that gives you a really interesting book. This one I'm doing just a little more texture. I do want it to adhere really well. So that modeling pace is going to give you a little additional adherence and kind of give you a fun texture all over your

painting. I do have a little off my edge right there, and I'm going to worry about that later and trim that up and all of that.
But I do want to make sure that adheres this, this little corner has given me a problem. So if you kind of lay down some texture on areas that aren't, it's going to really, you know, glue it down to your surface. And so I'm gonna let this dry really well and, kind of see a little bit what that looks like. let them strive very well. Cause I've got that both of those textures on there, and then we'll come back and we'll put down some layers of glazes and colors and, do that. So that's the first step. I'll see you in the next segment. Oh, okay. We are back. And now our textured surface has dried really well in a few days. So I'm kind of see there's some of the paper texture and the applied medium that we used. So going to go ahead and start adding color and the colors I'm using right now, of course you can use any colors, complementary colors.
My Pthalo blue, which I love and this is a cadmium yellow light and I've got a brilliant yellow green. This is kind of pretty. I also have a Pthalo turquoise high flow and a couple of inks; not sure if I'll use gold or not, but there's a white and a gold ink. I'm using a flat brush, small because I have a small painting and just a small round sponge that stamp. So what I'm going to do is go ahead and miss my surface a bit just to titch because I don't know how much flow I really want with this. Always have your water handy, et

cetera. I think what I'm going to go ahead and do is put down a little yellow, kind of see what I'm thinking with this little bit of the green. I'm gonna go ahead and just put it right on my canvas versus mixing up a Glazer or anything. I might, I might end up doing that.
I will use little bit of glaze because they do want this to have a nice kind of finish sort of a translucent. So I'm going to pour a little glaze. I'm using this little, a recycled sealable pan for my


paint. I'm gonna go ahead and put my glaze on there and kind of dip into it and do a little differently this time. Take a little glaze on my brush and then just go ahead and kind of move this around.


Close.
That's giving me kind of a real, pretty background finish. I take this all the way up a little bit. I'm going to do kind of a painting with quite a bit of large white space and the color concentrated more around the edges here. So I liked the way that looks, what I'm going to do now is dropped down a little bit of my blue. We'll put it in my, my pallet and then pick it up with my grain, a little bit of glaze on my brush and kind of drop it into a few areas. Just with my, my brush.
Let's give him a real green look, which is kind of what I was going after for this painting. So, I might go back over it with, when it's dry with Hulu and a glaze just to blew it out a little bit more. Cause right now it's a little bit too Easter egg, I guess, for my taste! I'm going to take my damp sponge. This is just very little bit of water on it. Not too much.
Kind of just see what I want to do as far as diffusing this, because I don't want it to have a super heavy duty painted look, this is not going to be an impasto


painting. This is going to be sort of glazed background, moving forward, turn over your sponge to the clean side to kind of remove a little bit of that paint.
And you can do this of course, on a larger canvas or surface. there are things to know when working large versus working small. Small is very easy to do a painting, because there's not a lot of surface and you can really move around fast. However, working large, if you are not used to it can be overwhelming. You can be working your paint and all of a sudden you realize you've got this great, vast area to fill and move paint around. And sometimes things don't quite work out as easily if they do on a small canvas.
So, if you are trying these techniques on a larger canvas, just know that, know that it, you know, if it doesn't, if it's not quite working, just like it did on a small canvas, that's normal, that's completely normal. Don't freak out. Just kinda, you gotta kind of keep practicing and working large to really understand what that is. That's a whole nother ball game, then working small, you can transfer these techniques, but they don't always just transfer quite as easily as, as what it looks like on a smaller canvas.
So just going to kind of put that out there. I was scared of working large for years, you know, I always liked working small and I still do. You know, it's very easy to control. Working larger is a different, you have to kind of learn a few things and not be afraid of it. Now. I'm not, I like working large now too, but, took me a few years to kind of get over the hump of, and fear of

that.
Alright, so I've removed every move, some paint and a lot of, you know, some artists don't do that, but I like to put paint on, remove paint, put paint on that gives me that layered look and, kind of helps me guide where I want to go with some

things.
I've got quite a bit of that yellow on my brush. Still some of that pickup, a little more blue, a little more glaze, just on a paper towel here, drop that down in a couple areas just to start getting that with a little bit of blue come through, and this is looking a little more like what I want it to look like.
Definitely want some yellow and green, but I want the blue to kind of tamp down that bright green.
I do like bright colors when done. Right. I just tend to leave that to other people and kind of mute my colors down because I guess that's just what I like. but of course you can do this with bright pinks and purples, and you'll just be sure to use complementary colors. That's I guess that's one thing I'm going to a little tip. I'm going to give you with paintings.


Let me get our new clean brush to apply a little more. What is it a bit, but my, my thing is with colors, honestly. I think that's what is a lot of times, of course it's technique and skill and style and all of that, but color is kind of what draws us to things. Why we like things or don't like things, especially with art. And, I think if you use the right colors, you can almost make any artwork look appealing.
If you use the right colors, if you use appealing colors, that that go well together. I, I do notice and I've done this myself, so I'm not disparaging anyone, but you know, newer artist, people just starting out, they tend to want to, you know, add more and more and more. And all of a sudden you've got a kind of a mess that doesn't really, there's no color that really sticks out. There's so many things going on. So many colors that it kind of dilutes the painting.
And, you know, I used to do that of course, until I understood a few colors used in varying tones and degrees are going to give you the effect of many different colors. So you don't need six different blues on one painting. As a matter of fact, you're going to get a muddy look cause some blues are blue, red, some are blue, green, some are blue gray, some are, you know, very opaque.
Some are translucent. You really have to learn, the different types of colors and what they're going to do. I know that that low blue is a very translucent blue and I can, I can go over other colors and get that translucency.
But the, of course, the cadmiums like this yellow that see, that's a very, solid color.

That's not going to give you that translucency. So you just kind of learn that, but you learn, if you use just a few colors in the right degrees, you're going to look like you put many colors on the canvas, but you maybe only use two or three paints. I probably don't even need this yellow, green, because I am using the blue and yellow, but I do kind of like the tone that gives me, but that's a very, you know, limited palette that I'm using here and, and still getting varying shades all throughout the

painting.
So what I'm going to do is let this dry, because this is at the point where I want to let it dry, kind of see where I'm at and, and see where I need to move on. So that is the segment and I will see it the next segment. Okay.
We are back. This has dried very well. And, at this point, what I'm going to do, I'm going to mist it very lightly.
I am going to put a little of my gold ink on this is the liquid techs, gold ink that I'm using.


You can use a gold paint, you can make your own alcohol ink or, you know, mix a little with some glaze, et cetera, the, your own L combust. In other words, I'm taking a dry flat brush, and I'm just going to move that around a little bit. one thing with these inks and metallics is they don't flow and move quite as well as paints do. so you do they grab, they grab more on the canvas. So sometimes you have to kind of understand that and work with them a little bit differently, but I just want a little bit of kind of shimmer in the background. There just a little, I don't really want gold, gold. I just want kind of this, the shimmer from it, the metallic .


So now that I've put that down, I'm going to use some of my turquoise fallow and drop a pieces down. This, this high flow paint is high flow. As you can see it, it, it really buggies on the canvas. If you, set it down, especially with some water and, Oh, I've got some splatters here. So that's another thing to be aware of. I probably should've laid that down on my palette and then picked it up versus right on the canvas. But if you work quickly, you can fix anything like that. And although I do like some of this sort of water watercolory look, I'm going to go ahead and remove some of it. Some of it, I just want sort of the background of the color, somewhat some areas. I want more of the depth of the color. So I'm going to leave. Oops, I'm going to leave this more deep over here.

So I guess I removed a little more that go ahead and put down some more. I do really love working with these high flows and very interesting. but they have a unique life of their own,s hall we


say.
Sometimes just to clean or damp paper tells you best tool, kind of like when you do your makeup, you can have all the greatest brushes in the world, but sometimes the fingers work best.
All right. So what I'm doing is I'm just laying that depth of the blue down a little bit. I'm going to come back when this is dry. I'll turn this around to kind of see where we're at now. I'm gonna let that dry. That's not going to take too long because the, the, paint I used is very thin and then will dry quickly. I'm not going to worry too much about splatters because I'm going to come back and put some white over that and blend that in.
This is really a study and sort of layers and blending doing a painting like this, but you ended up with a real, pretty kind of multitude of colors, sort of a very watery water color effect by using a Kerlix. So that is, I guess, what I'm going to do with that a little bit of more blue on my brush.
I'm just bringing it around the edges here. So I get a little more depth sometimes after paint sits and bakes into the canvas for a minute, then you can kind of stand back and look and see where you're at.


So we're back. I let that dry. And I also went over it with my hairdryer just to quick dry it now, it doesn't matter if it's not fully a hundred percent, but you know, overnight dry down here right now, because we're going to work in this area, I'm going to bring some of the paint in, and I do want a little bit of blending happening. So I'm not going to worry too much. If that is a hundred percent dry, I'm going to put down just a little titanium white and using my damp sponge.
And I mean, this is damp, not soaping sopping, dripping wet, make sure it's very DRAM damp. As a matter of fact, what you can do is, dampen it and then sort of put a paper towel on it and ring it out a little bit, just to catch any extra, because you just want a little bit of water on here. You really don't want to a ton of water that will ruin your, your painting. So by adding some of this with a sponge, I'm getting a very soft blended look, I'm covering up my background and he splitters, but I'm letting a little bit of it kind of show through since I'm not actually painting on a ton of paint with a brush. So if you can see that as I go over some of this texture with my white what's happening is it's sort of, you know, picking up on the white on the

texture.
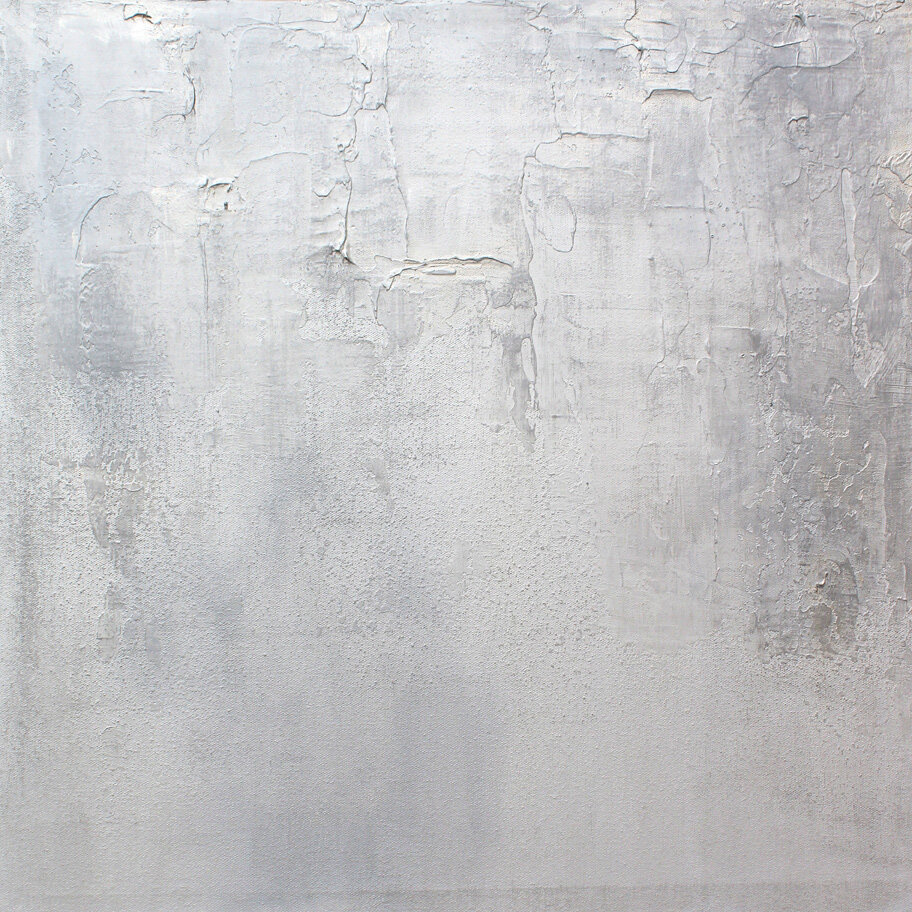
And I'm going to move that around a little bit. Again, you want your sponge to just be very, very lightly damp. You don't want a lot of water or this will re it'll ruin it. So that's one thing I caution about, and I really liked picking up paint on texture, whether it's going darker using metallics or even white white can look very cool on a texture if you've got a darker background surface. So this is giving you a very unique kind of look, a little more white and certain areas.
And I definitely want some of that color coming through from the background. So, you know, it's not a stark white color. Some paintings are like that, but this one, I want a little background color and I'm not bringing, bringing it all the way down. I'm just bringing sort of down. It kind of diffuses out a bit.
So right t here is a good stopping point for letting this really get

dry.
And you can kind of see how it's diffused down in areas like that. Now, what we're going to do is let this dry. I'm going to come back with another coat of very translucent fellow blue, I believe is what I'm going to use over this to enrich. So you can see a painting like this is, you know, putting paint down, taking paint off, laying another layer down, you know, doing a diffused white, like this Lang more paint on it, all creates these layers that come through. And you know, this is not, this is a study in patience doing a painting like this. When you get done, you're happy with it. If you let it dry.
I do understand your pain, if you're not patient and you just want to get the painting done and you really don't want to wait for the layers to dry, then they're done that.
Totally understand ruin paintings because of it. But if you let it dry and you, you really give it a good, ability to cure into the canvas, then you can come back and lay, lay what you want on top and be much happier with it. Then if you try to hurry through it, trust, just trust me on that.
This I'm going to let dry, I might do an overnight, I might just do a few hours. I didn't put a ton of pain on here, so it should be dry, especially my climate within a couple of hours. You might, if you're in a humid area or you just have any reason to suspect, it might not be dry, j ust wait, wait overnight, at least. you know, if you, if you only paint like on the weekends, then put it aside til next weekend and start a new painting.
That's what I had to learn to do is, is to use my studio with multiple artworks going on versus just one. If you only, if you have a very, very tiny area and you can only do one at a time, I totally understand. It is a study in patients doing these sort of layered paintings like this. So anyways, just have patience and be willing to let it dry. And you're going to be much happier in the end.


I'm going to do now is I put a little glaze in my palette. I'm going to use a little bit of my fallow, blue twisted a little bit. It's a very small painting. You only need small quantities. I'm going to add just a drop of my gold ink and some water and mix that up. And I'm just gonna come over this, maybe just a quick, just a bit. We're going to lay some darker blue on top. So we've
Now get the white texture picked up. we're going to do blue textured pick up the glaze. I'm want to, I want this to be a very light coat. So I am using the glaze. I'm laying down the color, and then I'm going to go ahead and just remove the color where I don't want it quite so much. So just kind of laying it down right now. I want it to be a little more intense in a couple of spots. So I am just a little more so are,
You can let it bake for a second and then start to remove your paint. And again, I'm using a very slightly damp spawned. It might be actually a little too wet. If you have a wet spawn to put it in paper towel, you know, absorb it out. You can always use the paper towel damp and the sponge again, you want it slightly damped, so you're not removing and making your paints move all over.


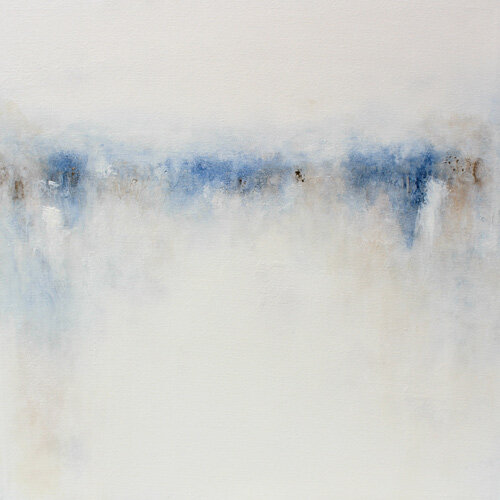
We're getting a very etheral effect by doing this. As you can see, moving up into the white, I have a much larger art scale painting. Actually I've done two or three like this large scale. And, there's one I have it's called Dreamstate (https://abstractart.live).
If you want to check out what it looks like, large scale, a different color scheme, mold, more depth, more drama on it, but I've done a few like this large scale. So this looks fantastic art skill. In my opinion, it looks cool. Just adding a little more blue, or I want a little more depth and just kind of very, I'm holding this so

lightly. I'm not scrubbing into it. I'm just going over it so lightly just to move the paint around, but I don't, I don't really want to, you know, scrub it or remove paint. I'm just moving it around and very lightly kind of, I mean, it's just like tips of my fingers, holding this, turning it upside down, where it's clean to kind of move into the white and soften those edges.
So

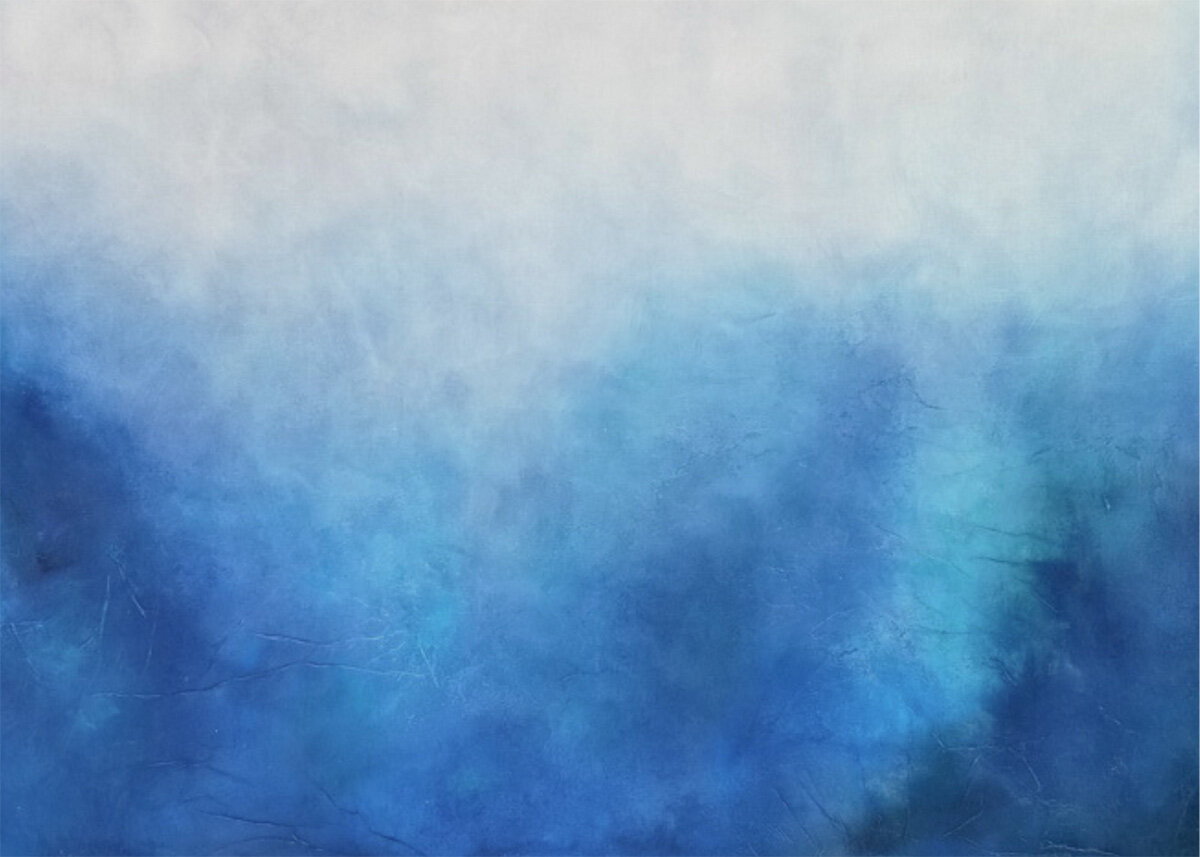
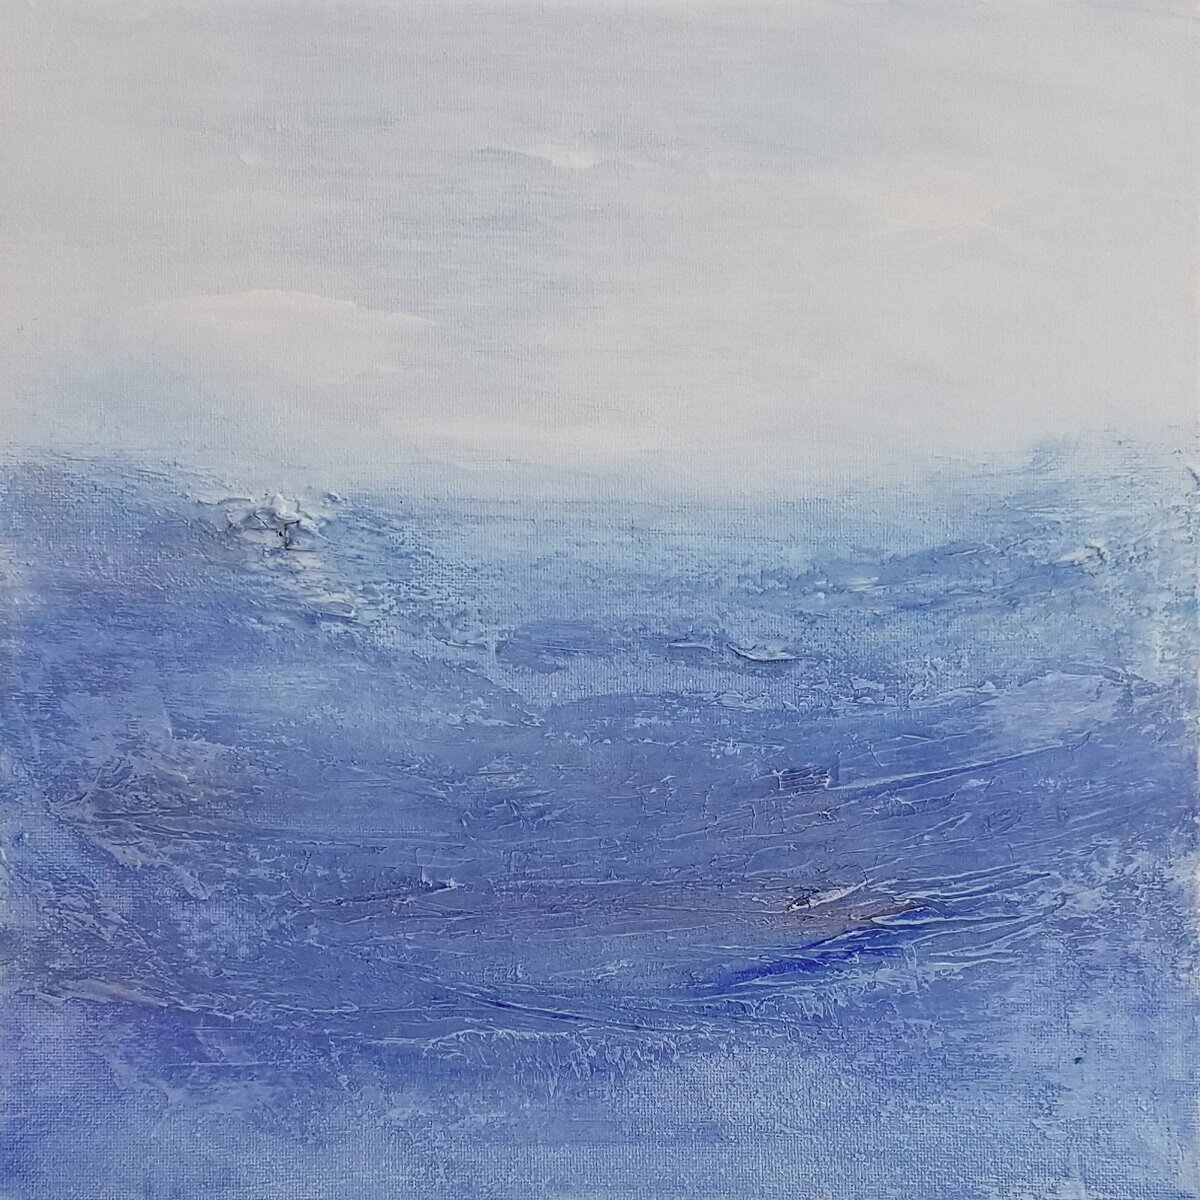
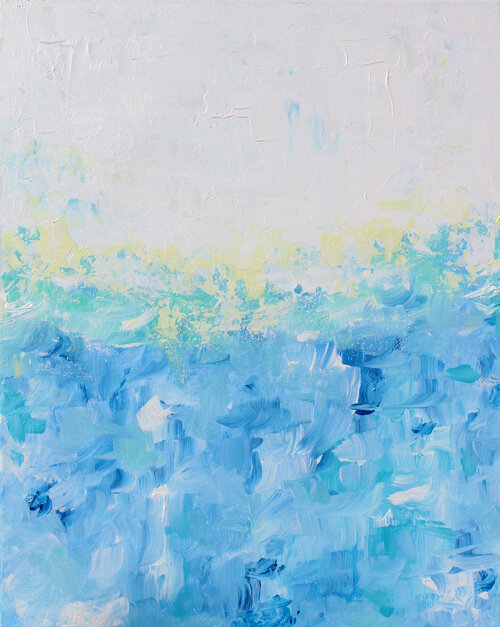
I just go back and forth like that quite a bit until I get where I want it. And this has kind of, it's, you know, kind of a soft explosion of color coming up from the bottom of the painting up to the white space, you can do sort of an abstract landscape if you want it to be more linear. this is kind of abstract landscape- ish, but not really. It's more of a full- on abstract.
Now I'm just laying a little more blue just on top of my texture too. So it kind of picks up there.
But I still really like how the white texture came through uncertain spots. So I don't want to cover that up. And this is basically finished. Now I'm going to let it dry. of course.
I may or may not add just a slight bit more of blue on here once it's dry, just in a couple spots with a little bit of glaze, just to add some depth, because right now I've got the glaze and the blue, and it's kind of, it's given me what I want, but the depth is like right there, adding that I might come back and do that just with a little more paint than glaze right now I've got more

glazed than paint.
I'm getting a very light translucent effect, but with a little more paint, that might be all I need right there. And, I might just do that right now, actually, while I've got this, I put just a little paint on my brush here. I'm just going to dab it in a couple of spots and this is, turn my brush over and see where it yet, that's what I'm doing. See where I'm at. And since it's kind of wet and able to move around, this is a good time to do that.
So again, these brushes are very inexpensive. You can get them at the craft store. I wouldn't spend a lot on these kinds of brushes because by doing this sort of technique, you really scrubbing the brush. As you can see, it's kind of all coming apart. And, you know, I'd probably throw this away after a few more uses, get a new one. And if you just buy the cheap sets for this type of situation, then you know, you're not going to feel bad about doing this. the higher end brushes where you really want to spend some money are more for a brush stroke technique, different kinds of, of, techniques versus this. This is, this is, you can even use like craft brushes or something for this because you're not really painting with it. You're just laying down and moving the color. There we go.
Now I've got some depth in some areas and soften it with my sponge just a bit. And I'm going to call this pretty much done. I'm going to let it dry. I'm gonna go ahead and put a really nice couple of coat of glaze on here. I'm going to use a, probably a little more high gloss glaze in my mix, or maybe just a pure high gloss.

You kind of see that, it's got a little gloss to it now because that's the glaze that I used in my last coat, but you can see the rural softness that you're getting by just using that sponge a clean sponge and moving that paint and just very, very lightly. Yeah, I'm very hardly even touching the canvas, moving it around. And that way you can remove color, move color around easily without, you know, actually moving it, replacing, moving, replacing, which gets a little tedious after a while.

This allows you to kind of really have you, blend it's this buttered out blend is the word that I'm looking for there. So you can get, get that effect. And there are certain brushes and things that will do that. but for something like this, this, this little sponge works great. And a note about spawn sponges. this works really well. I particularly like this. I went and just bought a whole new package of these, cause I only had one. I've had this thing forever, but I've bought some cellulose sponges, you know, the kindy clean your sink with that. You buy at the grocery store. I bought some of those, those work really well until they don't. And I'm what I mean by that is they will start dropping little, you know, tearing apart, especially with texture and then leaving those little bits of sponge in your painting.
And that can be incredibly frustrating. So you might, you know, you can use those for a bit. Once they start to fall apart, dump them, really just get a new, new set because I've used, I keep doing that and reusing the sponge and reusing it and picking more and more bits out of my painting. And it's like, okay, Karen, just throw it away. It's like a couple books. So, but I, these work seem to work very well with the textured painting. They don't tear up as much for some reason. I don't know the composition or whatever. So that's kind of what I'm going to do right now. It's on him and I'll lay down, might just finesse it just a bit and, call it done. So a nice glaze on it, pop it in a pretty frame since this is a board and just then needs a frame.

And this is going to be a really nice little painting. And of course you can do this final, a large scale canvas, and I'm going to be doing some large scale canvas tutorials. those require more work, more, more everything. So anyway, I'm just gonna work small right now for these. but I, I am going to do a series of large scale. So if you're interested in transferring some of these techniques, large scale and really, really doing it right. And not, not making too many mistakes anyways, then that might be something you'll want to check out: http://www.101artists.com

Okay. Just a real quick little recap here. I decided, right after I finished to just lay down a little bit of gold alcohol ink, again, you can use just straight on gold or gold with a little glaze, just in a couple of spots here, just to give it a little more interest.


