STEP-BY-STEP GUIDED BEGINNER ART - HOW TO PAINT WITH ACYLICS
PAINTING AN ABSTRACT TEXTURED LANDSCAPE
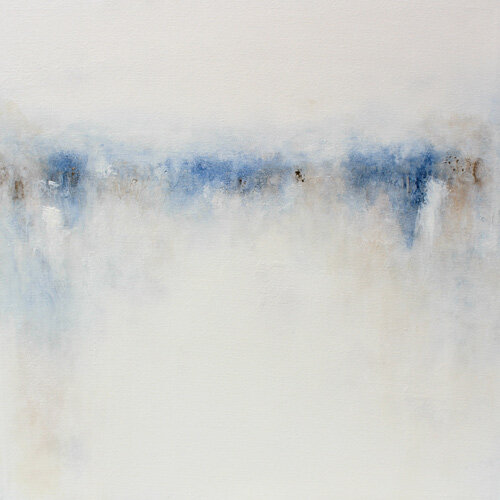
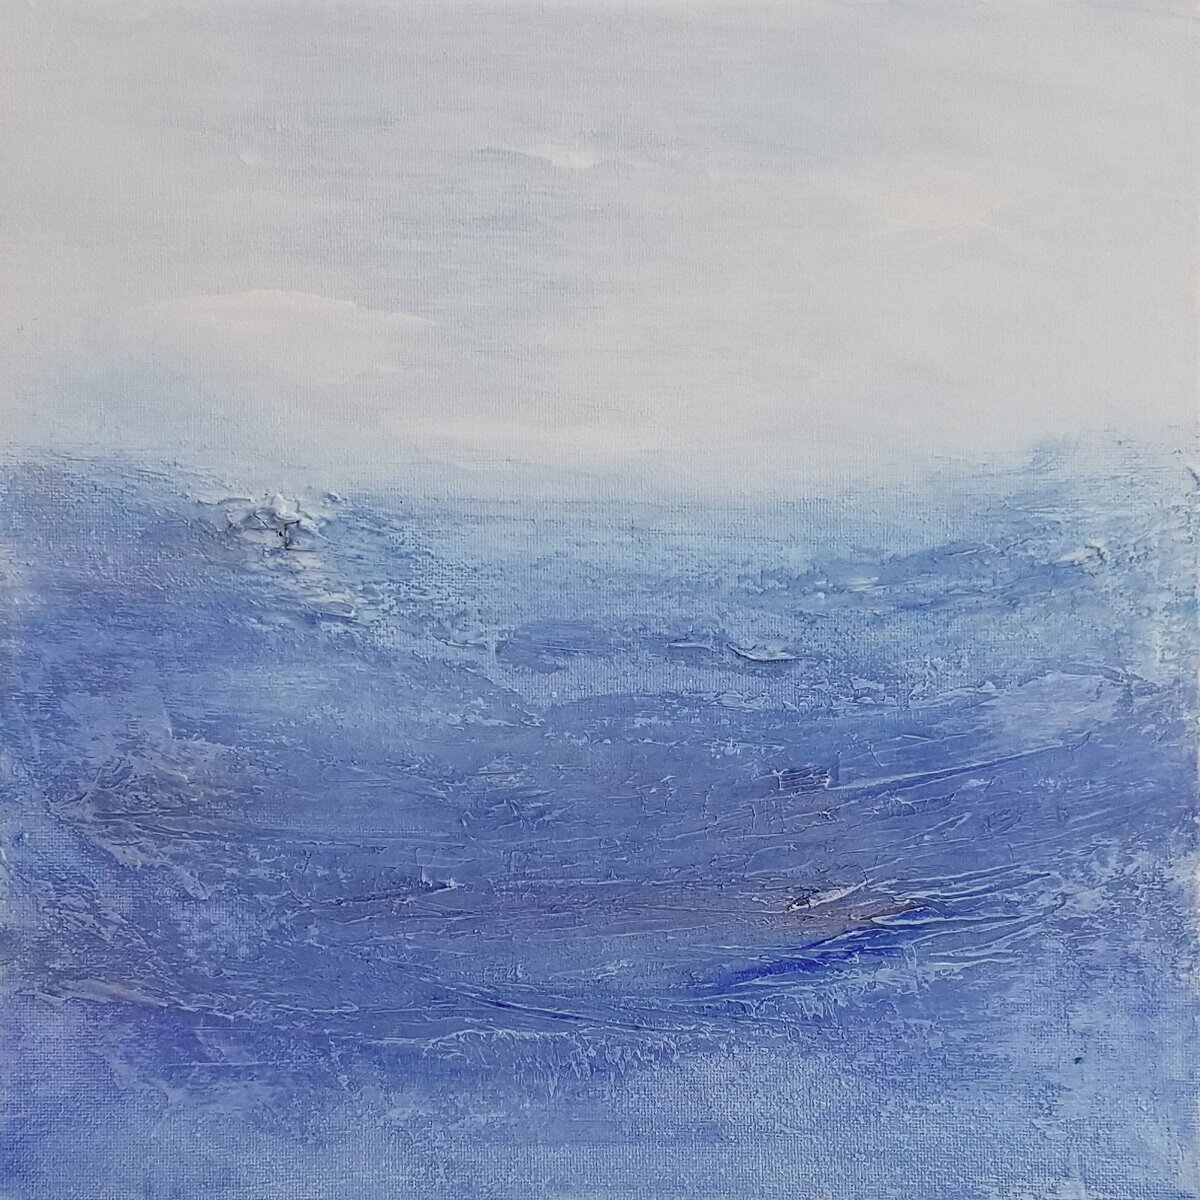
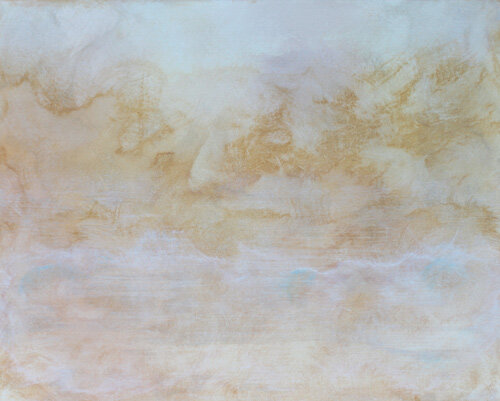
Creating a Neutral Abstract Landscape Painting
Summary:
The first step to creating a neutral abstract landscape painting is to prep the canvas, aka the background. The best part is if you’re a beginner, and especially if you’re trying your hand at abstract art, you don’t need a super fancy canvas as often robust paper is more than good enough.
We want the background to be a combination of titanium white and light gray, which adds definition and is pretty standard practice for painting with acrylic glaze mediums. To do that we use glaze and shade pigments. We’ll need a transparent oxide and shade grey color.
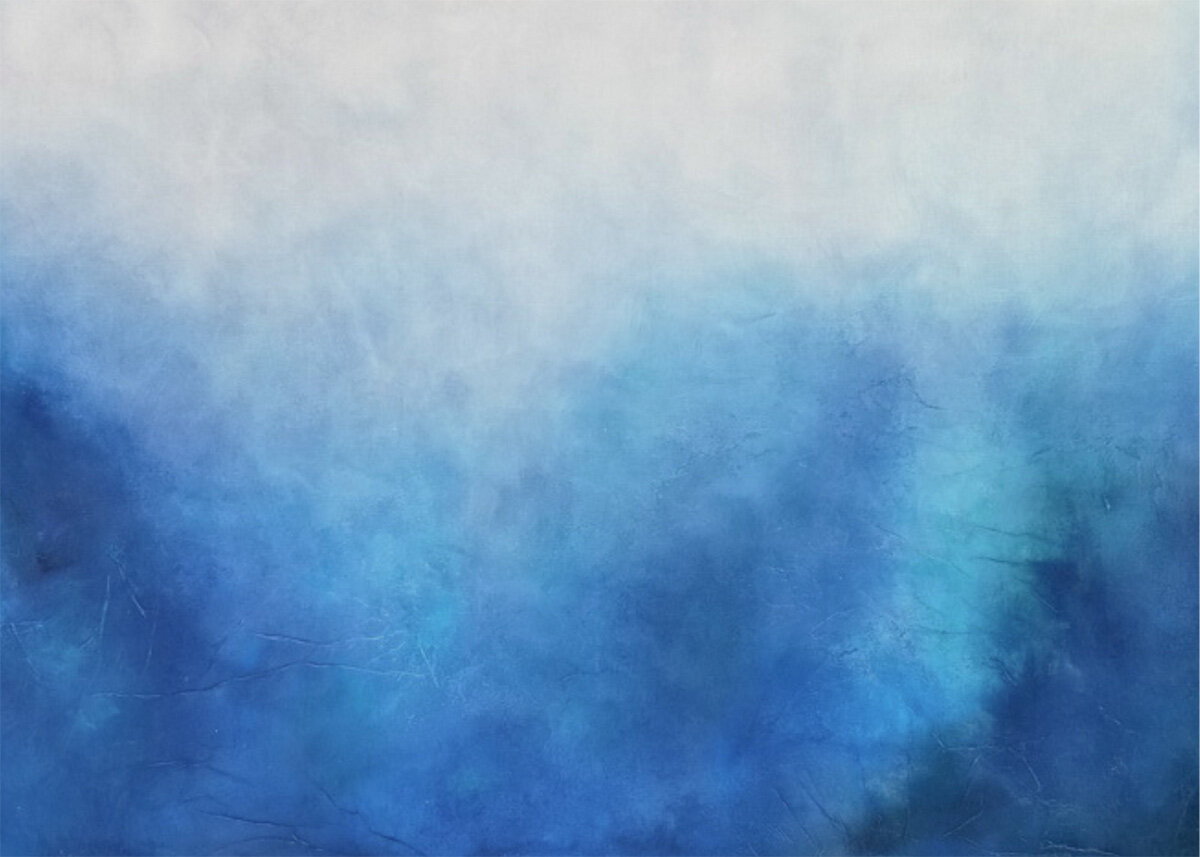
The background color is prepped by mixing some transparent brown oxide with the glaze paint. The combo color can then be applied to the wet canvas. Some of the color will flow, which is fine because we want it to blend. We’ll also want to avoid seeing any brushstrokes and a tonne of color. A mop brush can be used to spread the color across the canvas and to prevent brush strokes. Then allow it to dry.
Subsequent layers of subtle colors mainly a mixture of ceramic, black and some bronze will help to define the landscape.
After you’ve applied multiple layers, its time to add the texture to outline the horizon. Now the texture can be applied prior, but in this case, it can be done above the darker layers. The texture can be further highlighted by using some black. We can use the same black across the edges of the canvas to give it a more pronounced look.
BEGINNERS ART PAINTING
ACRYLICS + MEDIUMS
ART TUTORIAL
WELCOME!
In this tutorial we will cover:
- Working with various brushes
- Blending acrylics
- Creating a washy/watercolor effect
- Working with texture mediums
- Using a palette knife
- Creating an abstract landscape
Get more tutorials at www.101artists.com
Please visit to get a free 4-part painting tutorial and subscribe to my CREATIVES Tips & Techniques newsletter!

And all I'm using is some glaze. This is my satin glaze, and I'm using some shading pigments. These right here are high flow and they, this is a transparent, and this is a shading gray, and some water and a flat brush.

And I'm just going to get my canvas a little bit wet.
I'm going to do sort of a, a washy layer and landscape. So I'm going to take a little bit of my shading or my I'm sorry, my transparent Brown oxide mix it with a little bit of my glaze on my palette.
This is going to give us a very transparent translucent look because we're already using a translucent color and a glaze. So you're going to get like super translucence translucency


And I'm going to bring that down here with the wetness on my canvas. it's already going to kind of start to flow just a bit and I don't want brushstrokes. So figure out what I'm doing here with this. Maybe use a mop brush right here. this is very nice for sort of blending.

I'm creating a real soft washy look, which is what I want. I'm going to do sort of as a light landscape, look on this meaning it's not going to be landscape landscape, but it's going to have a horizon here with some texture. And on this one, I'm putting texture down after paint, which is going to be a little different from what I've done in some of my other tutorials where I put applied texture down first, and then I paint over it.
So I'm just going to show you something a little different here, removing some of the brush strokes, little hairs that get into the paint and laying that down. And I don't want a ton of color cause I'm going to put another layer on once the strides I'm use some soft muted tones. Of course you can use whatever colors you want, but this is what I'm doing.
That gives you a real soft washy look by using your mop brush. And if you can see sort of just a very light glaze of the Brown, the transparent Brown will let it dry.


Okay, here we are back. And, you can see this as a real soft wash. I let this dry and I'm going to go ahead and put on my next layer of color, which is going to be the shading gray. And I showed you, I'm putting this on my palette and this really doesn't create much depth.

I mean, it creates depth, but it's not a lot of darkness. Like if you used a regular gray or regular black, which would create a lot of darkness. So I've still got my brush. It's got a little bit of the Brown on there, which I do want, because what I'm doing is I'm just creating a whole new color with a little bit of those mixed together. Okay. A little bit of water on this side now, and I'm just going to lay down that shading gray in a wash.

And as you can see, it does not create like a black or a super dark color. It just creates a little bit of depth bringing it up over here and I'm just laying it down. And the reason that I created that background is because I wanted something back there with depth, because these are such light coats.
They are truly transparent coats, and they're just laying down a little color, without a thick, thick paint. And if you do this, you can build up some beautiful transparencies and some beautiful colors, you know, but it takes that patience again to let each layer dry pretty well with these because you've got the glaze and the color, but they're so thin they do dry quickly.
Of course, if you do a couple of layers, I would really suggest letting it dry for a few hours, if not overnight. So this isn't definitely one of those paintings you're going to whip out in the afternoon, might take you a few days to do it. but you're going to get a really pretty,

I'm using a, just a simple utility brush here just to kind of blend once your mop or your blending brush gets wet. It ceases to blend. It just sort of moves paint around. So you have to constantly pick up a dry brush to do the blending, which is, you know, more blood brushes to clean, which is a drag, but that's going to give you the best effect for blending.
And as you can see, it's just depth. There's not really a whole heck of a lot of color here, but you can do this and build up, build up, build up. So you can kind of see that a little bit more. And we're going to add a little more depth on this next time, and then we're going to put some texture down. So I'm going to let this dry really well.
Okay. So now we're back and this is dried and you can see, it's just giving me a little bit of a light coat. I'm going to put a little glaze on a flat brush and just kind of work it in the center area. And then down on the bottom here and a little more cars and I'm laying the glaze down first versus mixing it.

Although I have mixed up a little carbon black blaze and a little titanium white right here, and I'm just going to pop down a few bits of this. That's going to give me that pretty depth.
And I want, so you can do this. You can mix your glaze with your paint. You can lay it down. You know, there's multiple ways to use these mediums. And, you know, sometimes I feel like a commercial for mediums and I'm really not. I just use them.

I've learned, you know, what I can do with them and what works and what doesn't like letting glazes dry very well before you really paint on them because they will lift and cause you problems. But this is just a different technique.


I'm just showing you a different technique. And that's really all my videos are it's not to create beautifully produced art videos, which we all know they are not, but to create techniques and show you how to use some of these things. So you can use them yourself and create our work or just, you know, kind of be inspired.
I'm blending with a mop brush. I think I might have to get her different approach. This might be a little wet just to create a real washy and I am holding the so lightly; not digging it, this paint at all. And I'm just creating kind of a whole washing effect backwards.

This is really sort of a water color brush. so, but it, it does great blending. The problem is you gotta, you gotta use many of them cause they get, once they get wet, forget it. You can't, you can't blend anymore. So these utility brushes kind of come in handy.

I use these on my larger paintings and you just kind of blend the color system, laying down color. I don't really want a brush stroke effect. I just want color. So that's kind of what I'm doing. We'll let this dry, I might put one more coat on here and then we're going to do our texture and finish it up.
I just kind of want a water color effect, which is what I'm getting with these right now. Plus I'm getting a lot of that background texture that's coming in. So I don't know if you can see that really well. Well, on the final photos that I do, you're going to be able to see a lot of the background texture as well as the color, but that's where we're at right now. We'll let it dry and then come back.

Right now this is dried and that is where we're at. I did go ahead and take a little bit of my dark gray and put it just around the corner here and blend it in with my mop brush because I needed just a little more depth in those sides.

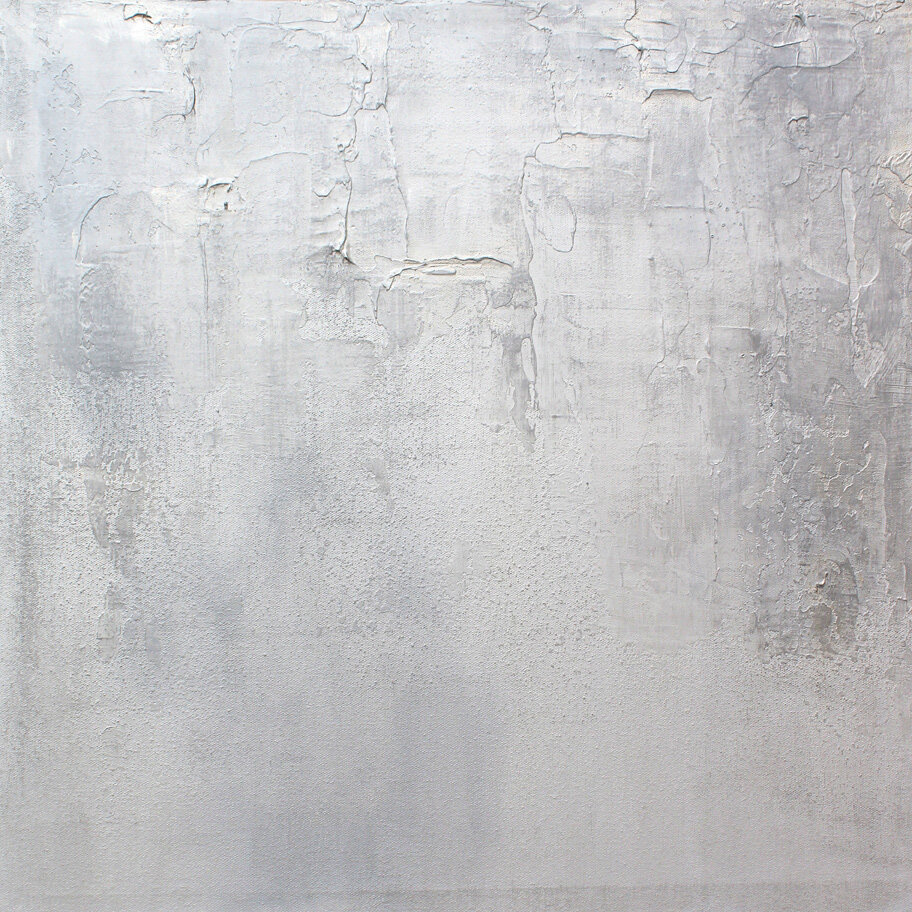
I did that off camera, but just to move it along here, I'm going to take my now I'm using a modeling paste. You can use a heavy gel molding paste, whatever kind of texture situation you, why don't you could even do this with an impasse STO just a, a thick paint, like a thick titanium white or, a tone. I'm just going to lay the texture down on top. Normally I would put my texture on first, but I just wanted to kind of show you that you can do it.
And sometimes if you don't want the actual colors in the, over the texture, you can use the okay to give your, your painting some depth, because now it obviously looks like we've got, the washy colors underneath and the texture on top. And I'm just doing this with a little pallet knife and laying down Horizon format to create sort of that abstract landscape look.

And I'm going to tell you one little trick with laying down a linear line like this, or creating the balance across isn't necessarily. You have to create a full straight line all the way across to create balance.
You can go up and down and have textures in different areas, as long as they're balanced on the canvas this way, meaning you can have a Highline here and have a Highline here and it doesn't have to necessarily go straight across as long as if you have a lot of stuff here and not here, you're going to create an imbalance.

But if you want that balanced, sort of linear look without having a straight line all the way across, this is the way to do it.
And this is something actually I used to just do the straight line, cause I didn't know how to get that balance otherwise, but I realized, you know, you just have a line on the same level on one side as you do on the other side, then all the other stuff in between doesn't really matter because your eye is definitely going to go catch on that one line and it's going to be, they don't want to just in terms of your eye, what are those little visual tricks.

So this is where I'm at in the final measure on the texture, you can see the line, the balance. It's not perfectly even, and it's not all the way straight across, but it's enough of a balance where you get that idea that it to linear format a linear line.
So I'm going let that dry. And then we're going to come over with a little more white up at the top and some tips of color on our texture, add some glaze and rim it in black and paint the sides in black to "frame it."
So there we have it. It's just a neutral with a framed finish in black.
You can see the entire video tutorial https://youtu.be/7slfeVcUewo
Join my CREATIVES
TIPS & TECHNIQUES
Learn to paint like a pro!
Acrylic art tutorials
www.101artists.com
MATERIALS LIST:
Canvas - prepped with a coat of Titanium White
Flat brush
Mop brush
Utility/blending brush
Palette knife
Modeling paste
Acrylic Paints:
High Flow or Fluid
Titanium White
Black
Shading Grey
Transparent Brown
Mister bottle
Paper towel
AFFILIATE LINKS - THESE ARE PRODUCTS I USE/RECOMMEND:
CANVAS https://amzn.to/3dO9nwP
Flat brush https://amzn.to/3gaMSna
Mop brush https://amzn.to/2Vya2Mq
Modeling Paste https://amzn.to/2AiZcm1
High Flow Acrylics:
Shading Grey https://amzn.to/2YNpyGo
Transparent Brown https://amzn.to/31JaGe7
